Managing shipping surcharges
Last updated
Carriers often charge extra fees after delivery—weight corrections, remote area fees, fuel surcharges, or relabeling costs. These adjustments are easy to miss when invoicing sellers manually.
Shipping Surcharges under Administration lets you import carrier files, link charges to orders and labels, validate them, and include them in Invoicing exports.
Where to find Shipping Surcharges
- Log in to your fulfillment center account (center admin required).
- Open Administration in the left menu.
- Click Surcharges — or go to Shipping Surcharges.
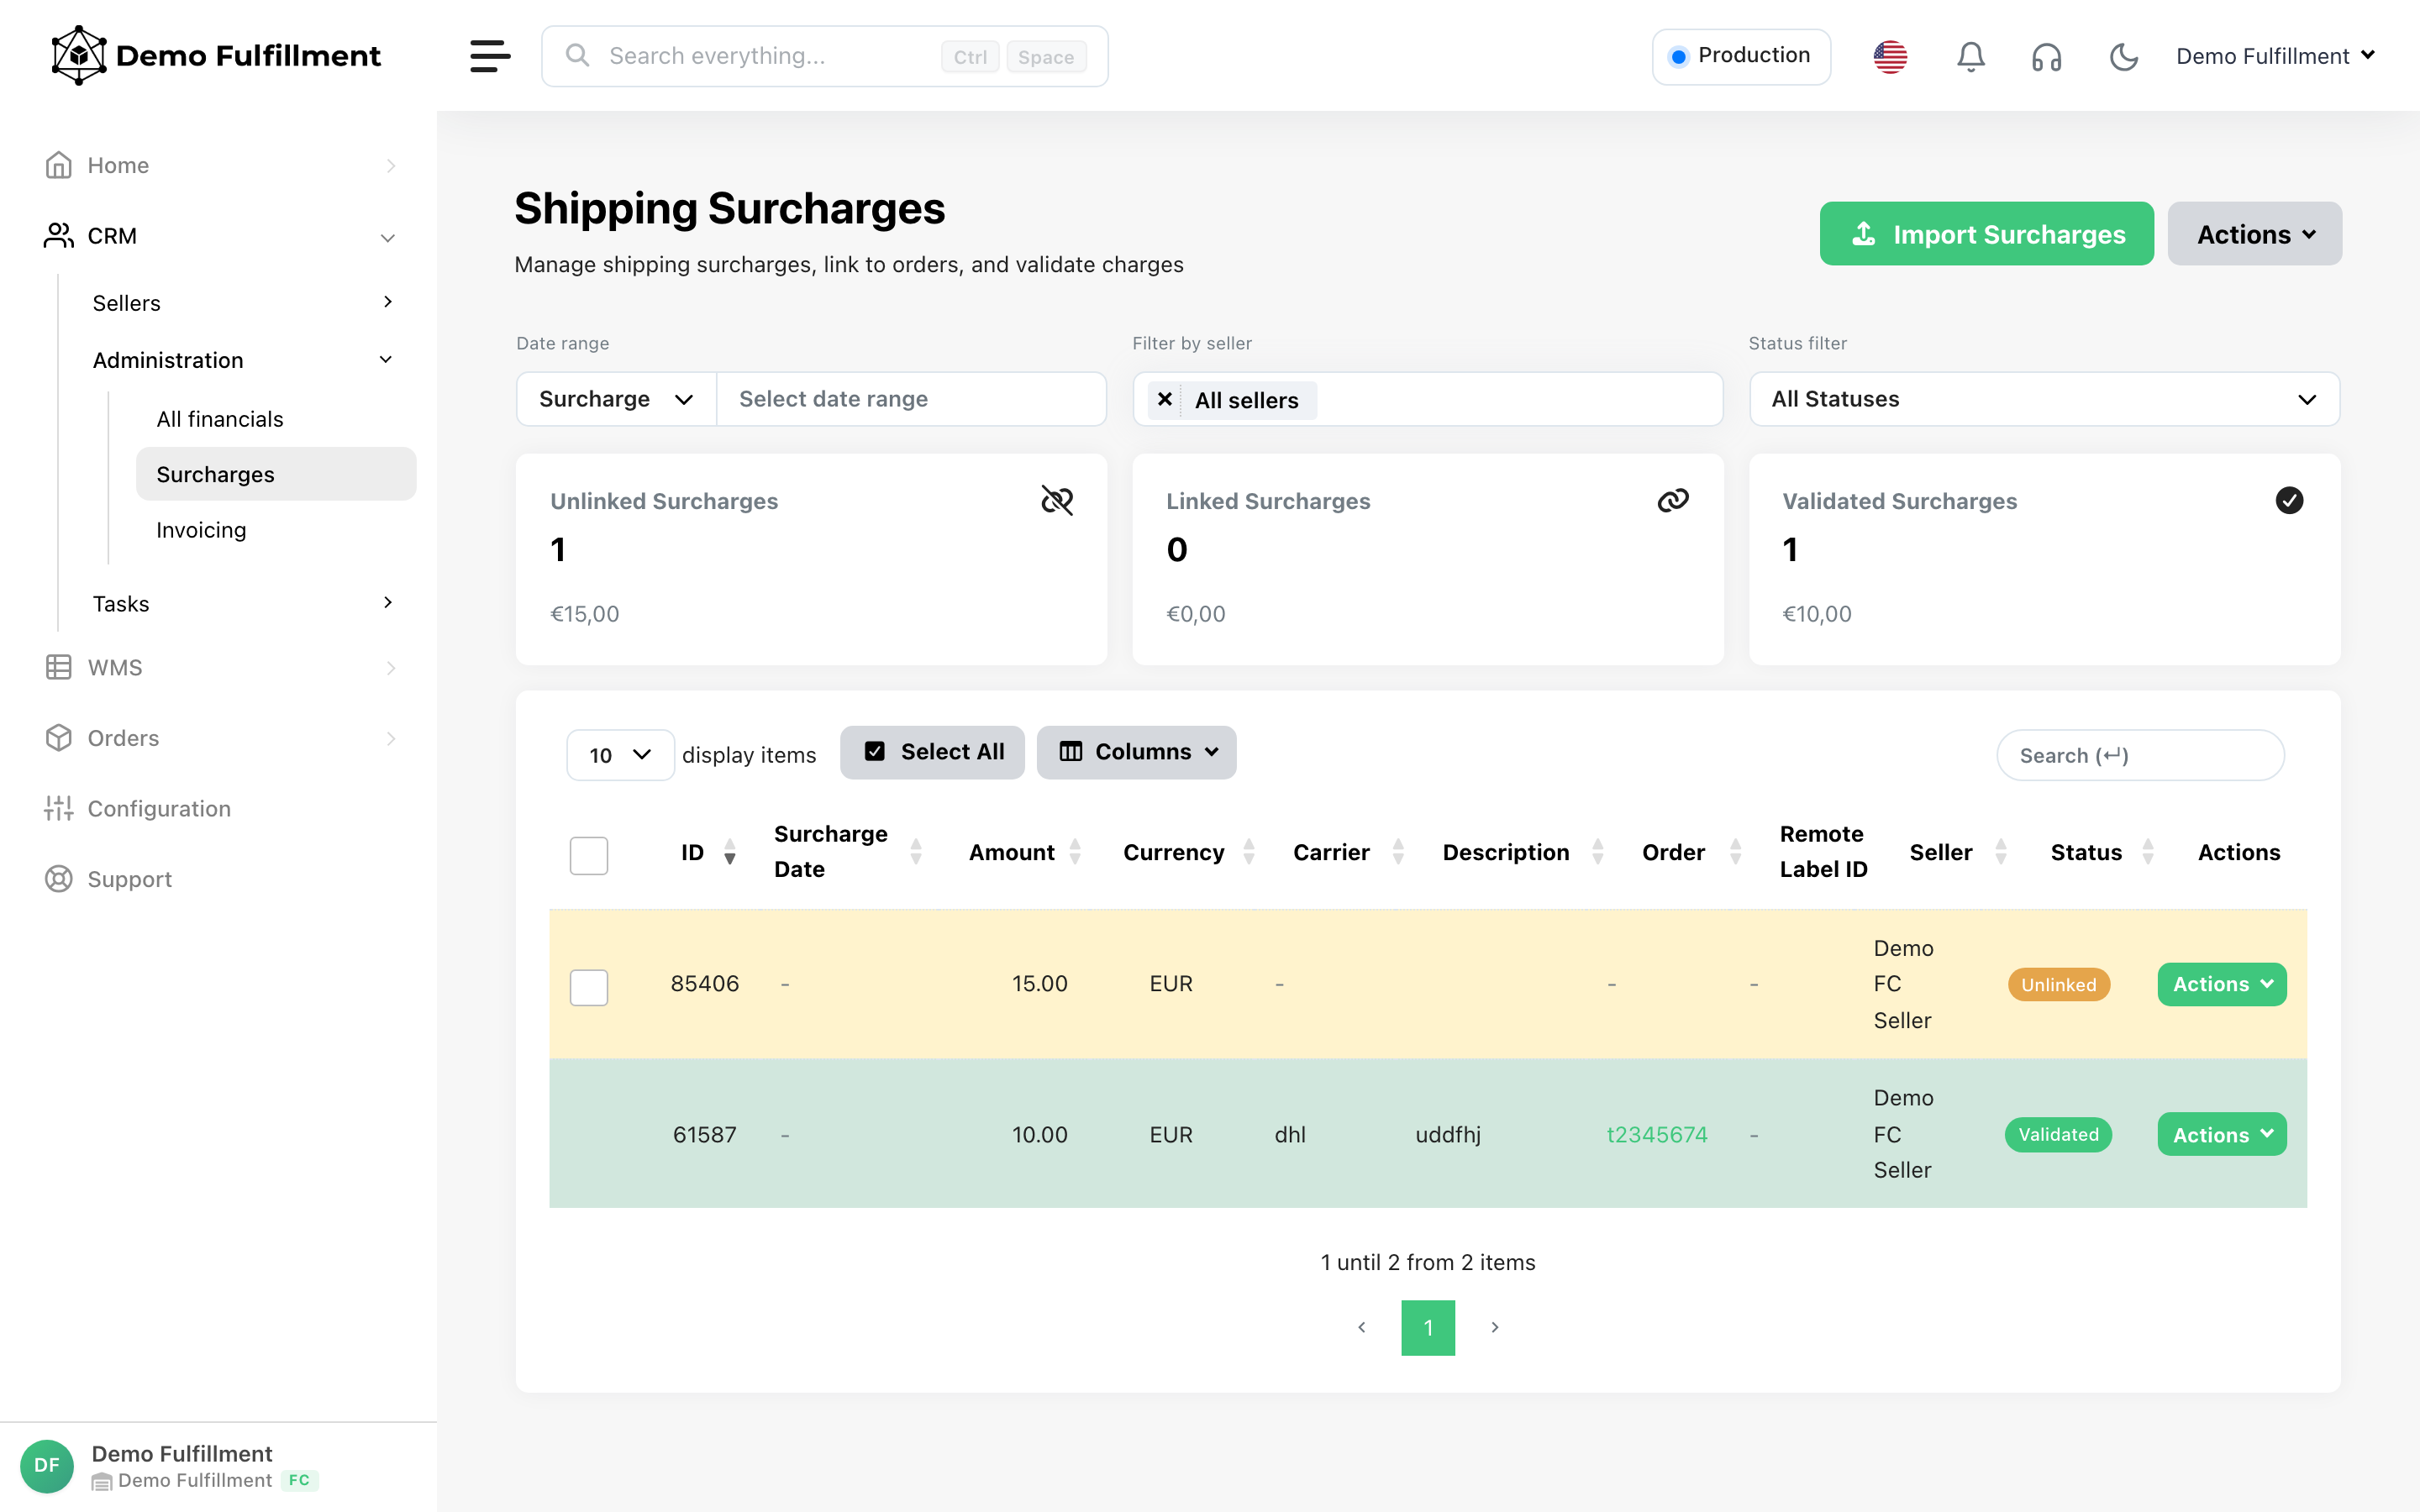
Surcharge lifecycle
Each surcharge moves through three statuses:
| Status | Meaning | Billable? |
|---|---|---|
| Unlinked | Imported but not matched to an order/shipment | No |
| Linked | Matched to an order and/or shipment label | No — still needs validation |
| Validated | Confirmed by your team (validated_at set) |
Yes — included on invoices |
Only validated surcharges with validated_at inside the invoice billing period appear on seller invoices (when the invoicing profile has Include verified surcharges enabled).
Import surcharges
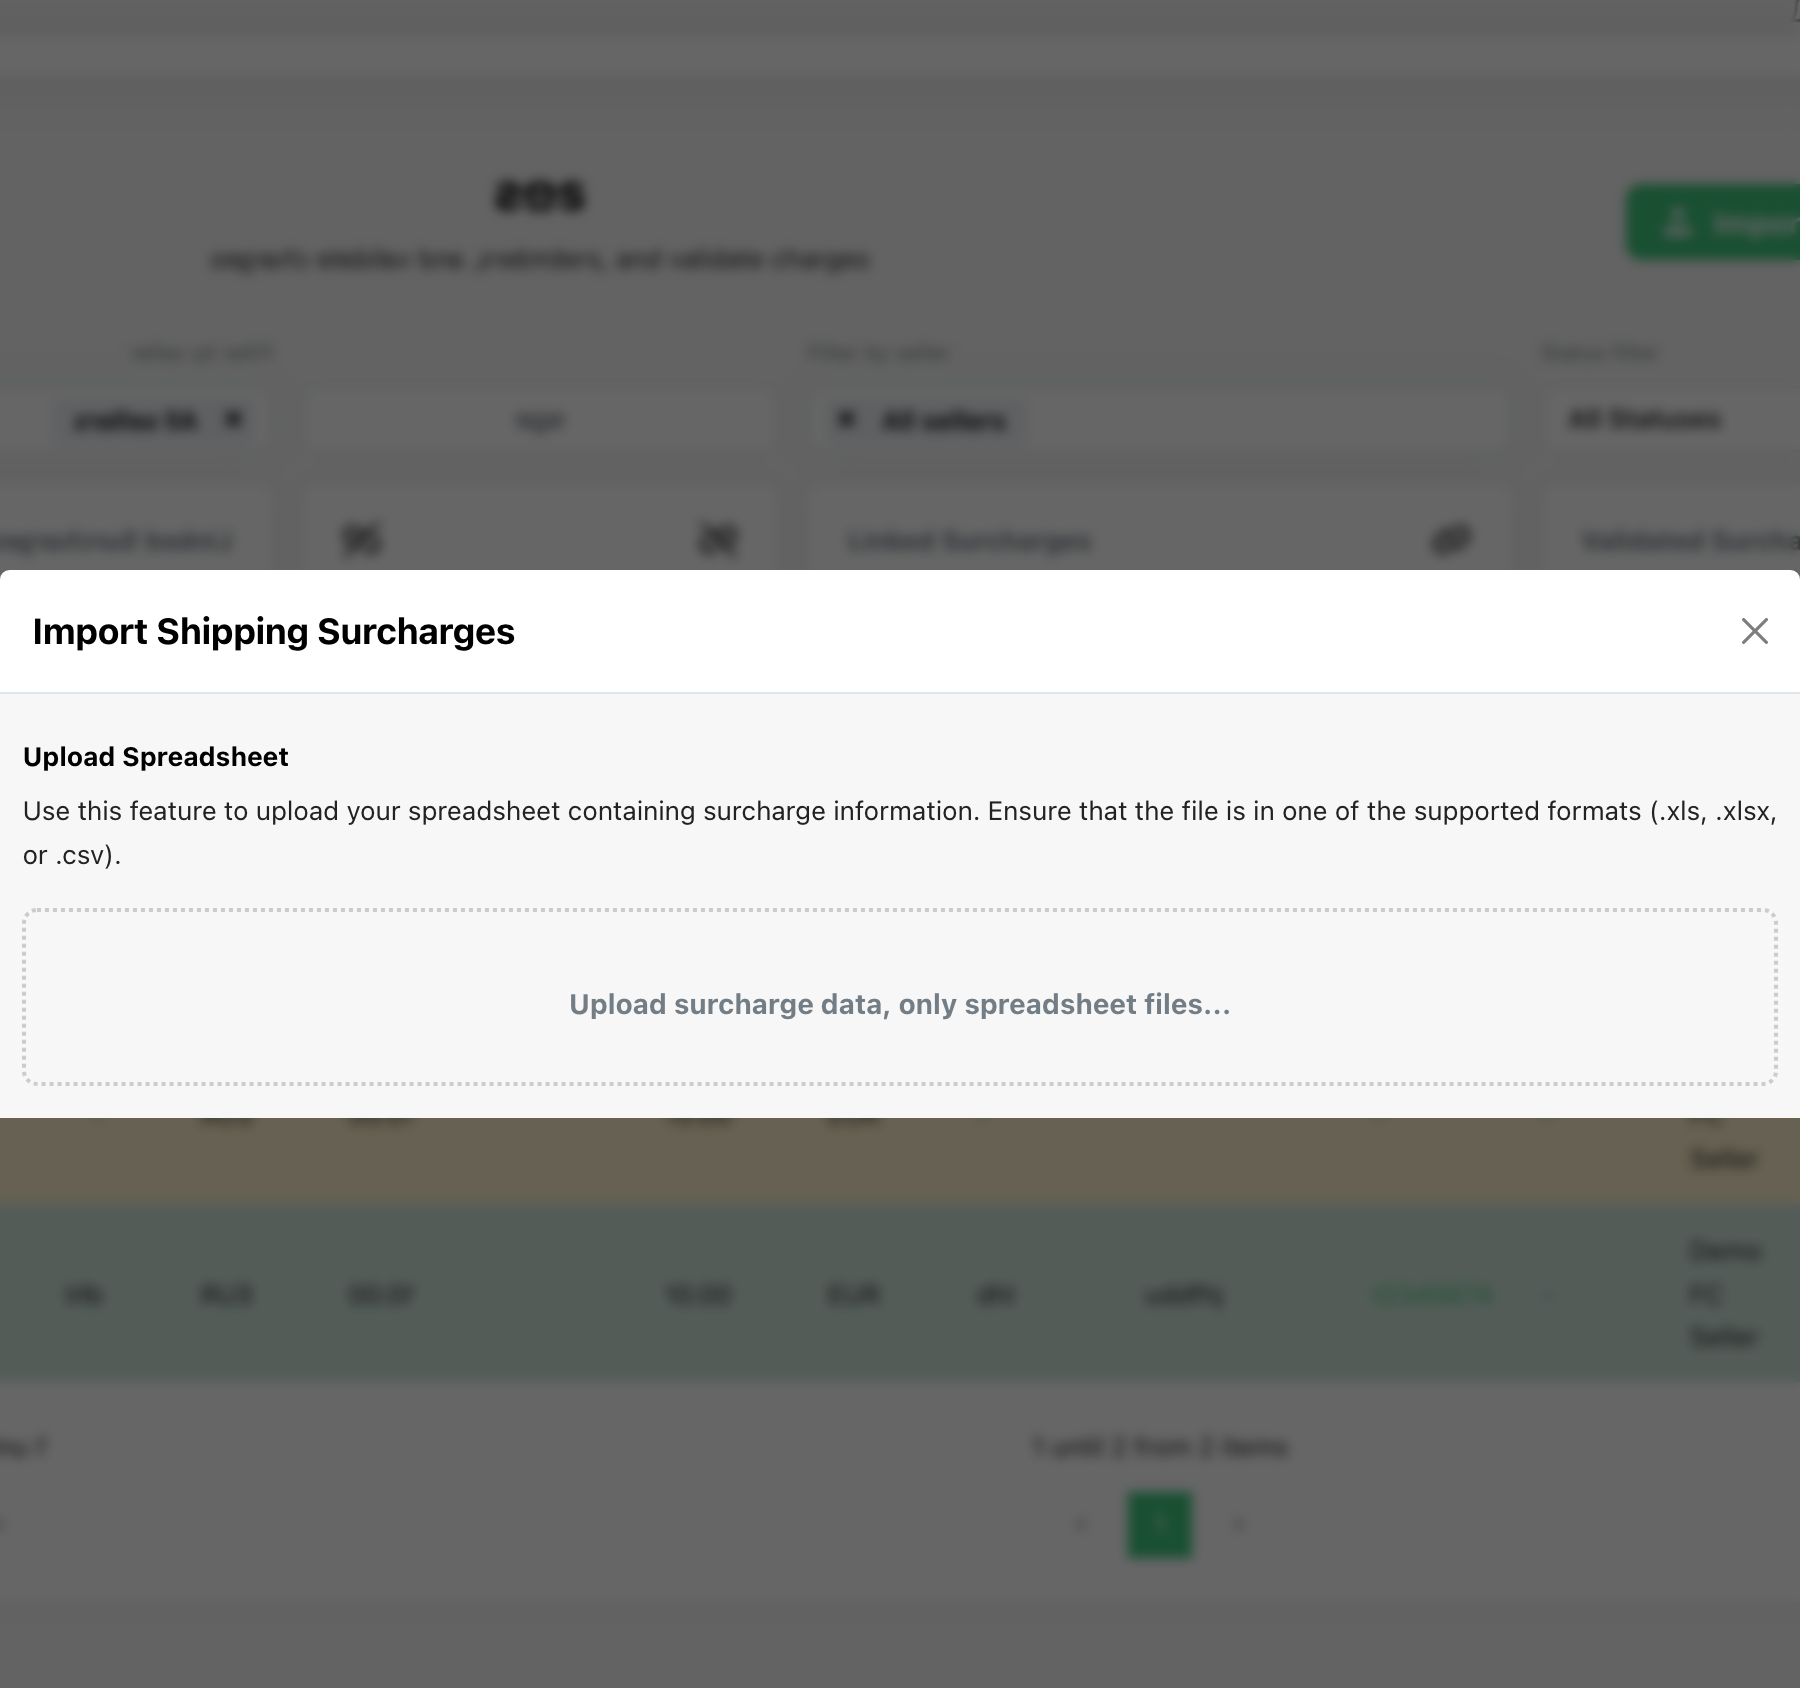
- Click Import Surcharges.
- Upload the carrier CSV or XLSX file.
-
Map columns — at least one identifier is required:
- Order reference / order ID
- Track & trace code
- Remote label ID
- Surcharge reference
-
Map the amount column and start the import.
ChannelDock matches rows to existing shipments. Successful matches become Linked; unmatched rows stay Unlinked.
Related: Upload base label prices separately via Upload shipment label price with T&T on the Shipments page.
Link unlinked surcharges
For Unlinked rows:
- Open the row or use Bulk Link on filtered results.
- In the Link Order side panel, review suggested orders (confidence-scored).
- Confirm the correct order/shipment.
Use the Status filter set to Unlinked and the KPI card to track how much cost is still unattributed.
Validate surcharges
Before running invoice exports:
- Filter Linked surcharges for the billing period.
- Review amounts, sellers, and order references.
- Click Validate on individual rows or Validate All Filtered for bulk approval.
The Validated Surcharges KPI shows the count and total amount ready for billing.
Cross-check with All financials
The All financials administration view shows total_validated_surcharges and total_validated_surcharges_amount per seller for a date range. Compare this with the Validated surcharges line on the invoice PDF before sending.
Including surcharges in Invoicing
Validated surcharges flow into invoice exports when:
- The invoicing profile has Include verified surcharges enabled (default on for new profiles).
- Surcharges are Validated with
validated_atinside the export date range.
The invoice adds a Validated surcharges line item plus an itemized tab in the XLSX export (order, shipment, carrier, reference, amount per row).
Configure pass-through or markup rules in Setting up billing profiles and rules for shipping-related fees beyond surcharges.
Monthly workflow
- Receive the carrier surcharge file for the closed month.
- Import Surcharges and resolve unlinked rows.
- Validate approved surcharges.
- Cross-check KPI totals against All financials.
- Run invoice exports per seller.
- Verify the surcharges line on the PDF before sending.
Related articles
Was this helpful?